Guide - Install a Postscript Printer
Creating a Windows Printer to Create PostScript Files
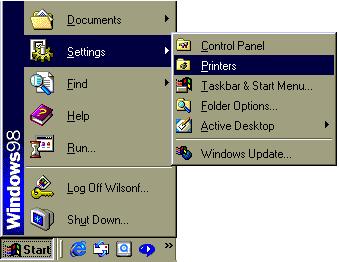
- Select Start button > Settings > Printers and double-click the "Add Printer" icon

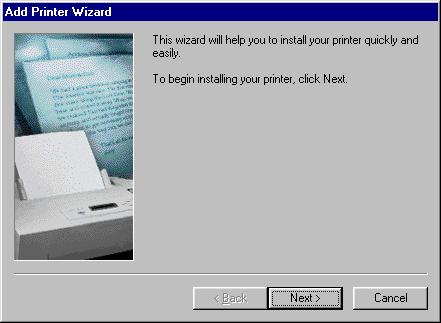
- The Add Printer Wizard will launch. Keep these instructions open in your web-browser while going through the process.
- Click Next
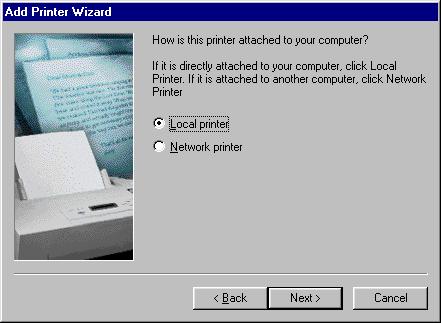
- Confirm that you wish to define a local printer by clicking Next again.
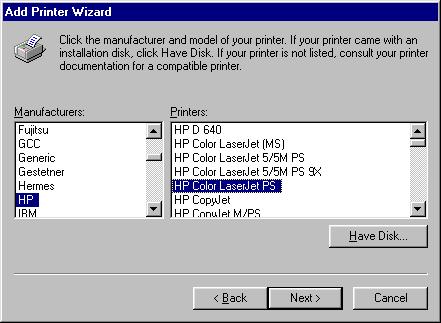
- Windows will then display a list of printer drivers it knows about.
- Any PostScript printer driver should work. This example uses the HP Color LaserJet PS. Click Next again.
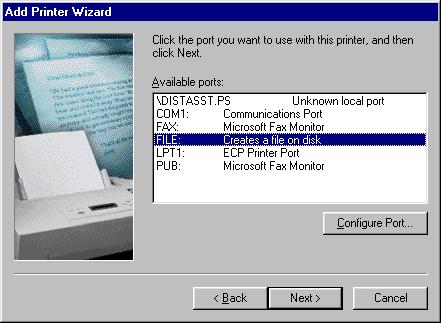
- Now you are prompted for the port to connect this printer to. Choose "FILE: Creates a file on disk". That means whenever you print to this printer, you will be prompted for a filename and location, instead of sending output to a physical printer. Click Next.
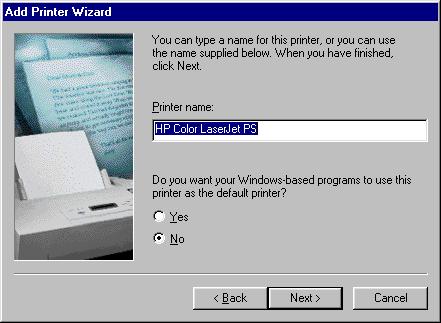
- Name the printer you just created. We recommend using the suggested name unless you have some reason not to. Normally you should not make this your default printer. Click Next.
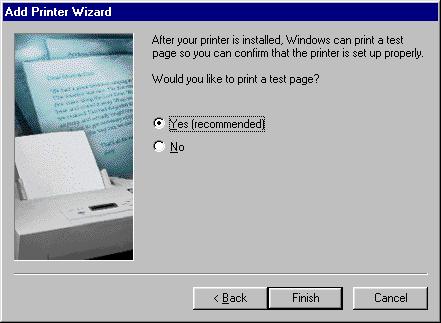
- Choose to print a test page. Click Finish.
- You will be prompted to insert the Windows 95/98 CD-Rom. Do so, and make sure that Windows is looking for the files in the correct location (if the drive letter of your CD-Rom drive is D:, this would be D:\Win98 for Windows 98 and D:\Win95 for Windows 95).
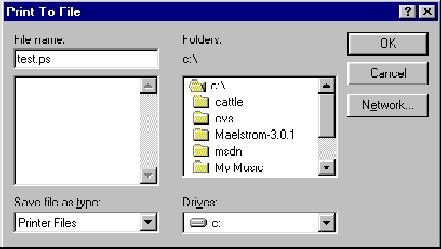
- The Test Print page will now print. You will be prompted for a file name and location. Click OK.
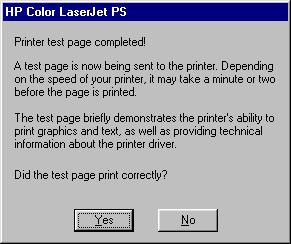
- While the file is being saved a dialog is displayed asking if the test page print OK. Check if the file you just saved is present. If so Click OK. You can use this file to test the ivan PDF converter or you open ivan and produce a postscript file of one of your schedules to use instead.
- You are now done. The new printer will be listed in the Printers window, and a little floppy icon indicates that this printer creates files, not paper output.

